First Angle Orthographic ProjectionOrthographic Projection is a way of drawing an 3D object from different directions. Usually a front, side and plan view are drawn so that a person looking at the drawing can see all the important sides. Orthographic drawings are useful especially when a design has been developed to a stage whereby it is almost ready to manufacture. IMPORTANT: There are two ways of drawing in orthographic – First Angle and Third Angle. They differ only in the position of the plan, front and side views. Below is an example of First Angle projection. |
||
|
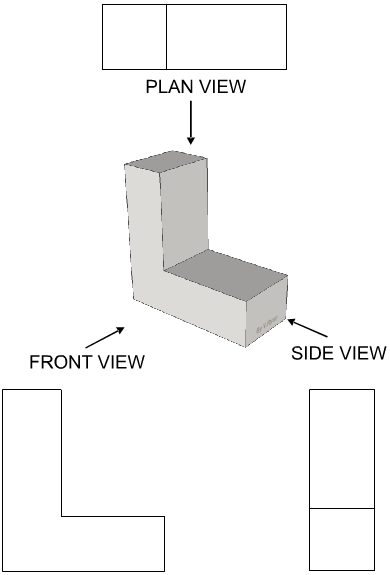
Opposite is a simple L-shape, drawn in three dimensions. The front, side and plan views have drawn around the 3D shape. However this is not the correct way of drawing them as they are not in the right positions. |
||
 |
||
|
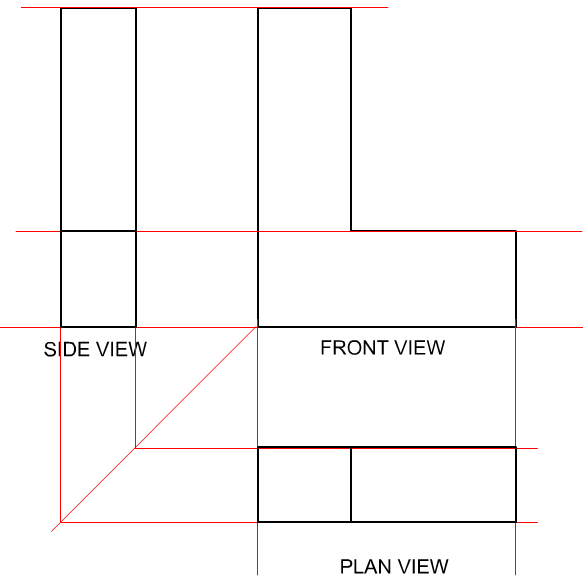
The correct method of presenting the three views, in first angle orthographic projection is shown below. The drawing is composed of a front, side and plan view of the L-shaped object. The first drawing is the front view (drawn looking straight at the front of the L-shape), the second is a drawing of the L-shape seen from the side (known as side view) and last of all a drawing from above known as a plan view. The red lines are faint guidelines and they are drawn to help keep each view in line, level and the same size. Example of first angle orthographic projection |
||
First Angle Orthographic Projection |
||
 |
||
|
THE SIDE VIEW |
||
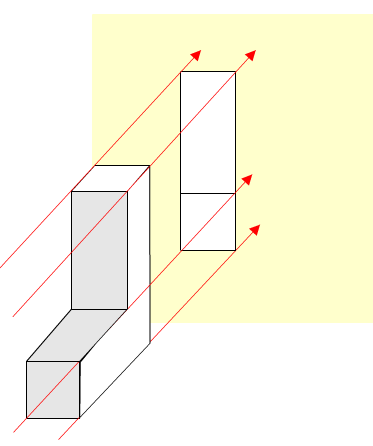 |
Imagine standing directly at the side of the L shape. |
|
|
THE FRONT VIEW |
||
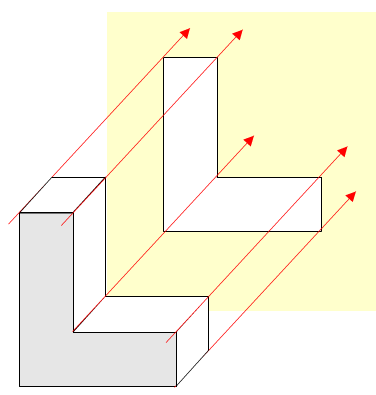 |
Now imagine standing directly in front of the L-shape, the drawing opposite shows exactly what you would see. |
|
| THE PLAN VIEW | ||
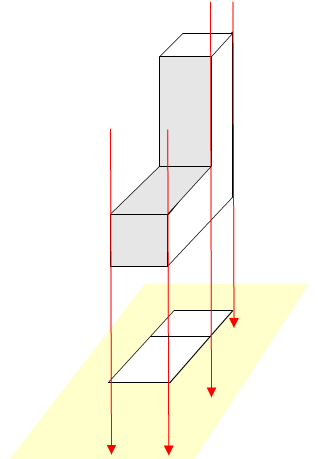 |
The plan view is a view seen directly from above. Some people call this a birds eye view. | |
